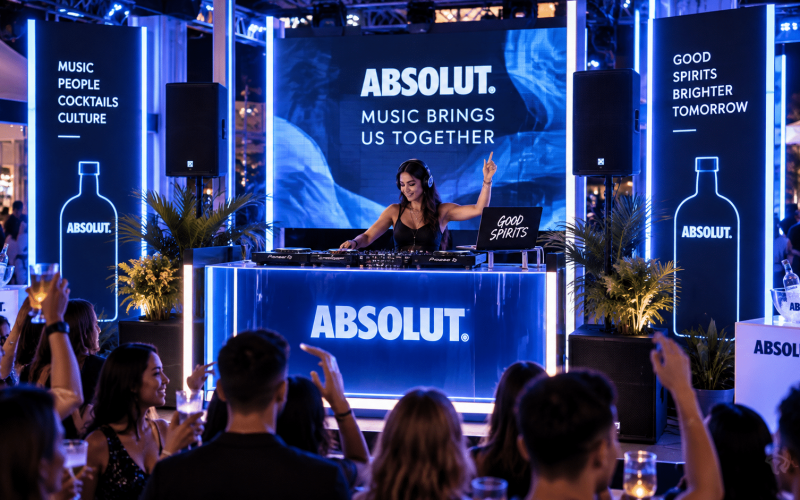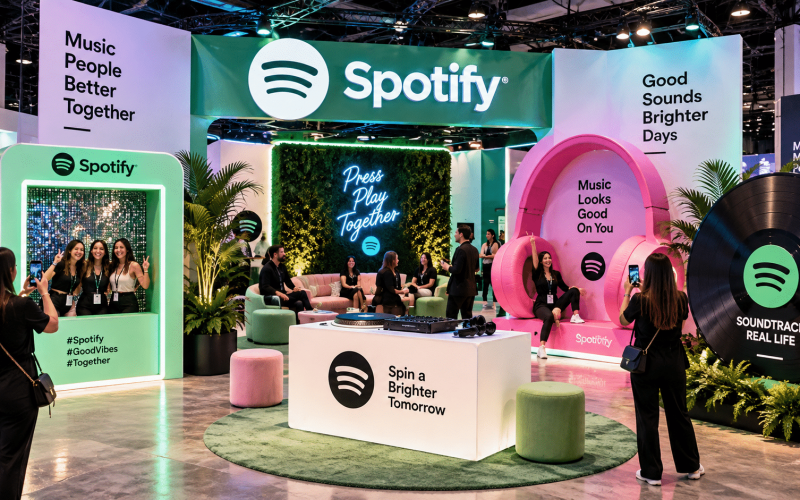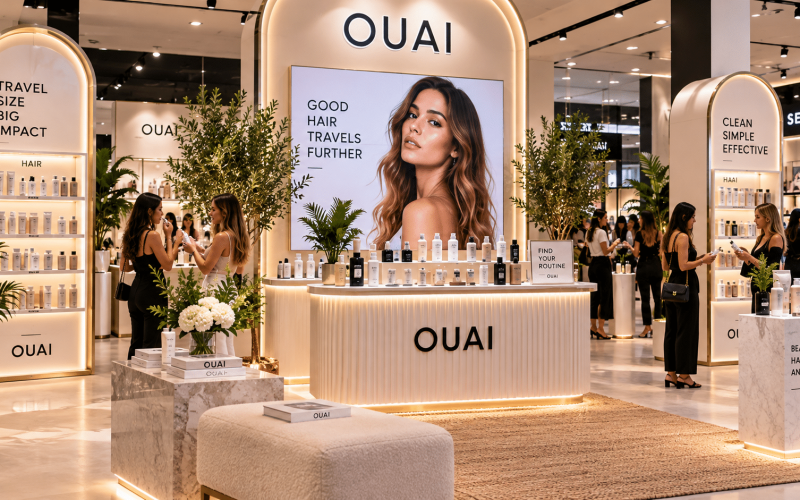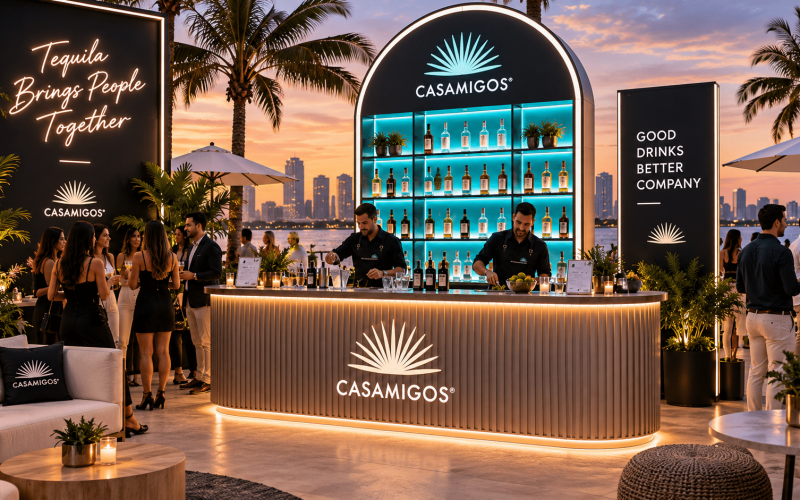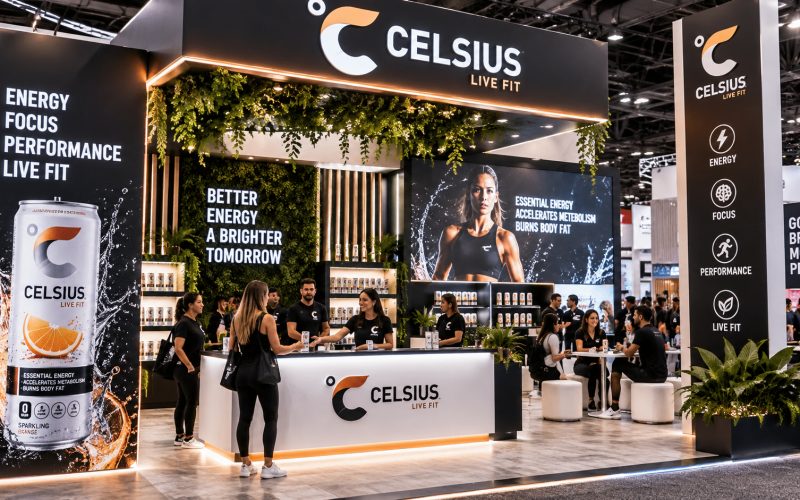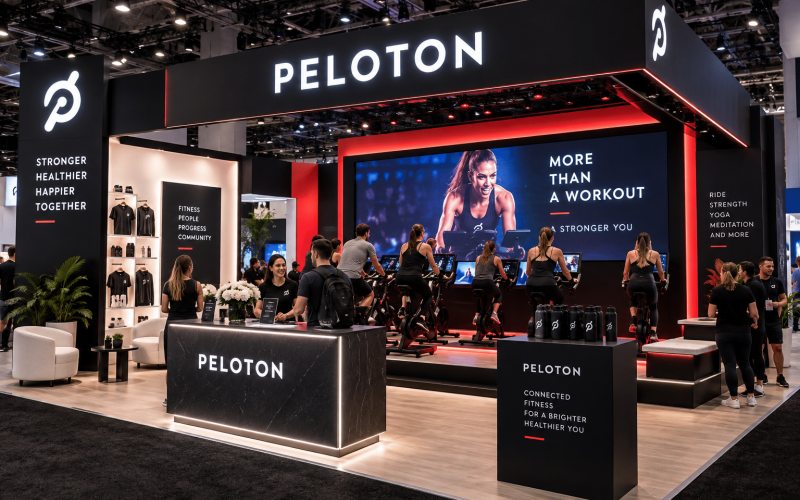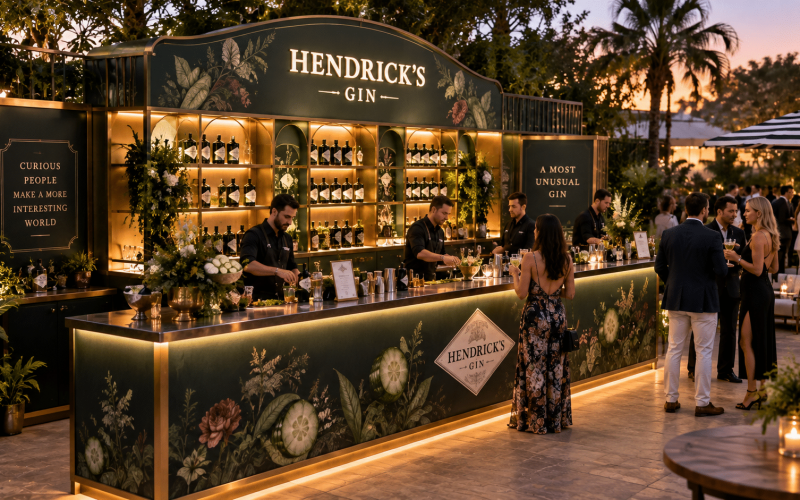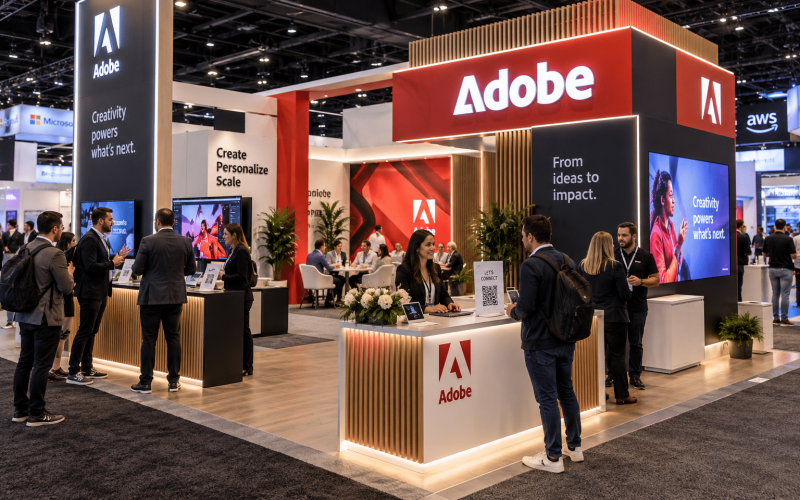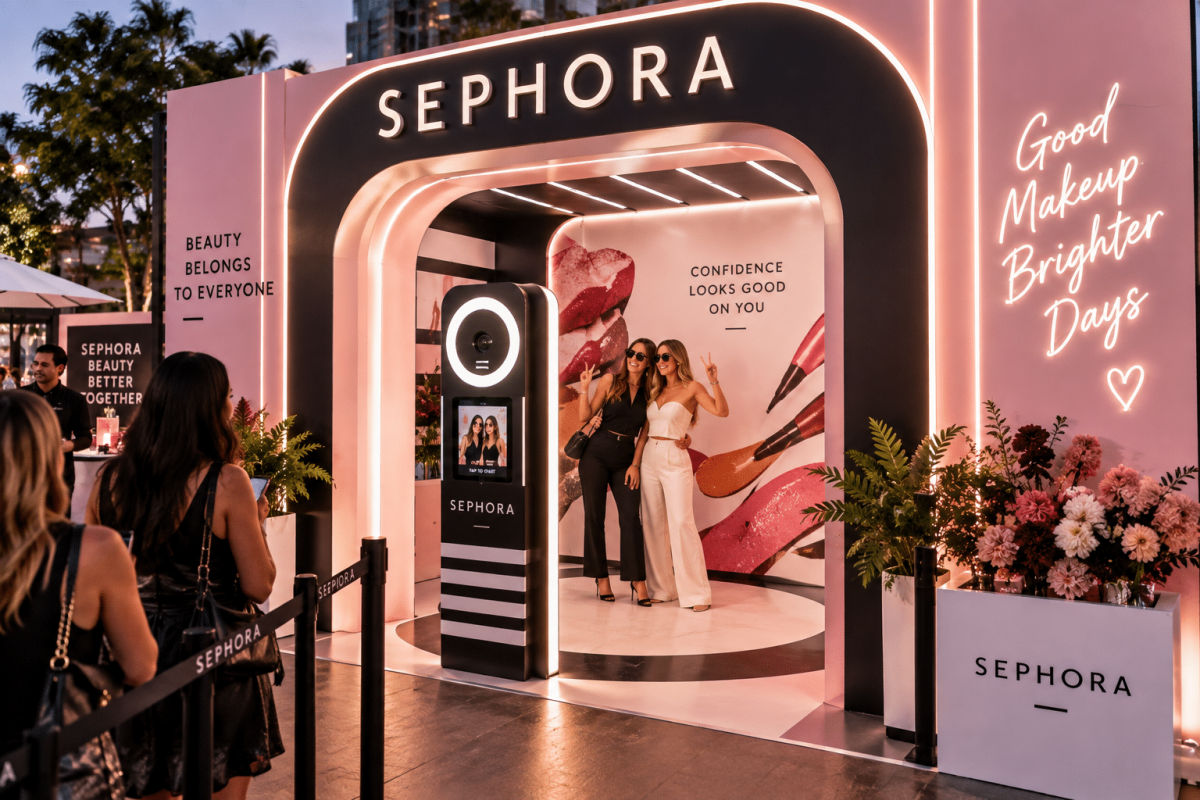
A custom photo booth is not just a camera in a branded box. It is a high-traffic brand activation built to attract attention, move guests through an experience, capture usable content, and perform through a demanding event schedule. Knowing how to build custom photo booths means designing for all four outcomes from the beginning.
For brand marketers and event producers, the strongest booth is the one that looks intentional in the room, makes participation obvious, and supports the campaign without creating an operational burden. That requires more than a compelling rendering. It requires practical fabrication decisions, reliable technology, guest-flow planning, and an installation strategy that works at the venue.
Start With the Activation Objective
Before selecting materials or sketching a structure, define what the photo booth needs to accomplish. A product launch may need a polished, editorial-looking portrait station. A consumer activation may need a high-volume GIF or video experience with instant sharing. A trade show booth may need a compact installation that pulls attendees in from the aisle and captures qualified leads.
The objective influences nearly every production decision: the booth footprint, the camera and lighting package, the amount of branding, whether staff is needed, and how much time guests spend inside. A booth intended to process 300 guests in a few hours should not use a complicated multi-step interaction. A VIP experience can support a more immersive environment, a larger set, and a longer dwell time.
Agree on the success metric early. It may be content captures, social shares, leads collected, foot traffic, or brand impressions. If the team cannot identify the desired action, the finished booth may look impressive while failing to perform as an activation.
How to Build Custom Photo Booths Around Guest Flow
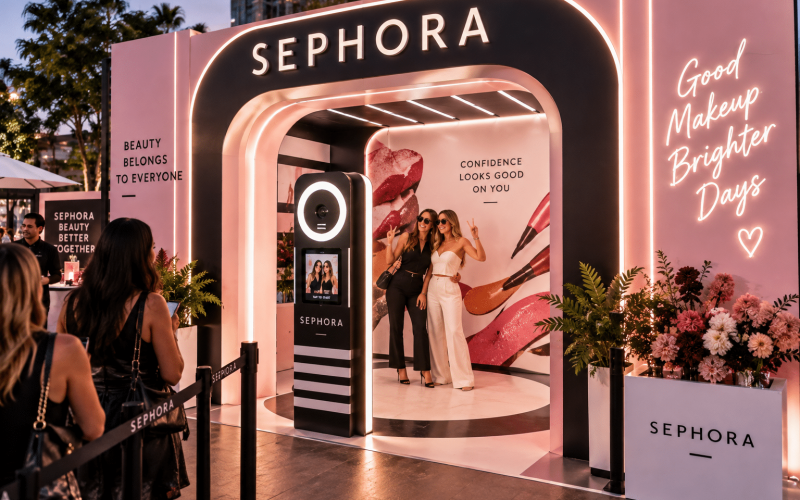
A photo booth should communicate its purpose before a guest reaches it. The camera position, screen, lighting, entry point, and output moment all need to be visually clear. Guests should know where to stand, where to look, and what happens after they participate without requiring extensive instruction from an event staff member.
Map the experience as a sequence: attract, queue, enter, pose, capture, receive, and exit. This exercise exposes common problems early. For example, an open-air booth may create a queue that spills into an aisle, while an enclosed booth may need enough room for a door swing and an attendant. A 360-degree platform requires a controlled perimeter so guests do not step into the rotating arm’s path.
Consider the camera angle and the group size. A single-person portrait station has different physical requirements than a setup designed for four friends, a family, or an entire team. If the campaign calls for full-body shots, build the set and lighting around that framing rather than adapting a tabletop camera enclosure to do a job it was not designed to handle.
Accessibility belongs in the layout, not as an afterthought. Provide a clear approach, usable controls, enough turning space where applicable, and a camera framing plan that works for a broad range of guests. These choices make the experience more welcoming and reduce onsite adjustments.
Design the Booth as a Branded Environment
The most effective custom photo booths use brand elements as part of the experience rather than applying logos to a generic structure. The silhouette might reference product packaging, a campaign visual, a seasonal setting, or the architecture of a retail environment. The goal is recognizable brand alignment without covering every visible surface in graphics.
Begin with a visual hierarchy. Determine what guests see from a distance, what they notice while waiting, and what appears in the final image or video. Large-scale brand recognition may sit on a header, backdrop, or dimensional feature. Smaller messaging can live on the user interface, instruction panel, or sharing screen.
Keep the content capture frame in mind. A colorful set can be memorable in person but ineffective if the most important elements fall outside the camera crop. Request sample framing views during design approval, including standing and seated positions when relevant. If the output will be vertical for social channels, build for vertical framing rather than relying only on a wide event rendering.
Select Materials for Venue Reality
Material selection affects appearance, budget, durability, shipping, and setup time. Painted wood, laminated panels, acrylic, metal, fabric, vinyl graphics, and molded components can all be appropriate. The right choice depends on whether the booth is a one-day installation, a touring asset, or a reusable modular system.
For a short-term event, printed graphics and lightweight fabricated panels can deliver major impact efficiently. For a multi-market campaign, stronger finishes, replaceable graphics, protected edges, and road-ready cases may cost more upfront but reduce maintenance and replacement costs over time. High-gloss surfaces and mirrors can photograph beautifully, yet they show fingerprints, scratches, and venue lighting reflections. That trade-off needs to be understood before fabrication begins.
Build with venue constraints in mind. Confirm freight elevator dimensions, loading dock access, door widths, ceiling heights, fire-code requirements, electrical availability, and union labor rules where applicable. A booth that fits on a show floor plan can still fail operationally if its largest fabricated component cannot reach the space.
Make Modularity a Deliberate Decision
Modularity is particularly valuable for touring activations, trade shows, and programs that will change graphic campaigns over time. Break the booth into manageable sections with repeatable connections, labeled components, and replaceable brand skins. Avoid making every panel unique unless the visual concept truly requires it.
A modular build does not have to look temporary. Properly engineered connections, finished seams, concealed hardware, and a planned assembly sequence can create a polished result while supporting efficient transport and storage. Portadecor approaches this balance as a fabrication and event-execution problem, not simply a scenic-build exercise.
Integrate the Technology Before Fabrication
The camera, touchscreen, printer, lighting, power supply, cable routing, and software should be specified before the enclosure is finalized. Too often, technology is treated as something to fit into the remaining space. That leads to poor camera height, inadequate ventilation, inaccessible service panels, and visible cables.
Choose the capture format based on the campaign. Still photography is fast and familiar. GIFs and boomerangs create movement with a relatively simple guest experience. Video can deliver stronger storytelling but may slow throughput and increase file-management needs. AI effects, green screen, and augmented overlays can be effective when they reinforce the concept, but they should not be added simply because the technology is available.
Lighting deserves the same level of attention as the physical set. Diffused frontal lighting generally produces the most consistent guest images, while accent lighting can add atmosphere around the environment. Test lighting against reflective finishes, bright colors, and the expected ambient conditions. A booth that looks excellent in a controlled studio can produce uneven images in a brightly lit convention center or a dark nightlife venue.
Plan power and connectivity with redundancy. Confirm the booth can operate if venue Wi-Fi is congested or unavailable. Local capture, battery backup where appropriate, cellular failover, and a manual guest-data process can protect the activation from avoidable downtime. If lead collection is involved, coordinate the consent language, data fields, and export requirements with the client’s marketing and legal teams before the event.
Engineer for Service, Safety, and Speed
A public-facing structure needs service access. Staff should be able to reach the computer, camera, printer media, power distribution, and network equipment without dismantling decorative surfaces. Ventilation is also essential for enclosed electronics, especially during long operating hours.
Safety requirements are not optional production details. Evaluate structural stability, ballast, cable protection, pinch points, sharp edges, flame-rated materials, and any moving components. For larger scenic builds or overhead elements, engineering and venue approval may be required. Build decisions should reflect the actual audience environment, including children, crowded queues, and guests carrying bags or drinks.
Setup time has commercial value. Design a documented installation sequence with labeled hardware, packed component groups, and clear ownership between fabrication, transport, and onsite teams. The less interpretation required on event day, the more predictable the result. A pre-event shop test is the best opportunity to verify fit, software behavior, branded output, lighting, and packing methods together.
Budget for the Full Lifecycle
The fabrication quote is only one part of the investment. A realistic custom photo booth budget includes design, engineering, technology, printing or output costs, graphics, crating, freight, installation, staffing, storage, maintenance, and strike. For a touring program, account for repairs and replacement graphics as well.
There is no single best booth construction. A premium, permanent-looking environment may be right for a flagship launch. A lighter modular setup may be the smarter choice for a campaign visiting several cities. The best answer depends on the experience standard, expected event volume, reuse plan, and the cost of getting the asset to each venue.
A successful photo booth build starts when the creative idea is tested against the realities of guest behavior, fabrication, and event operations. Bring the production partner into the conversation while the concept can still improve. That is how a visual idea becomes a dependable branded experience that guests want to step into and clients can confidently deploy.